Acrylic Laptop
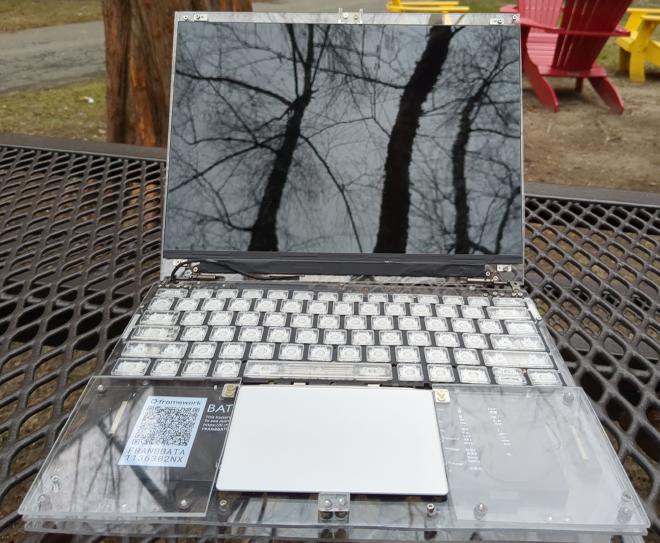
This is my acrylic laptop. It uses mostly parts bought from the Framework Laptop store. The WiFi card and antennae were gutted from an unrelated laptop and of course the case is custom.
I made this as a follow-up to my cardboard briefcase laptop, which was an attempt to make a laptop as cheaply as possible. Documentation of the cardboard laptop no longer exists, but it was inspired by my cardboard PC. After that laptop fell apart, the screen was cracked so I could be careless with it; it already needed to be replaced. There acrylic laptop can be thought of as a second revision of the cardboard laptop.
I originally intended to build the thing while being careless. Then, I would replace the screen once I knew the laptop was secure. However, I ended up needing the motherboard for my Framework Server so the whole laptop had to be scrapped before I could use it extensively.
Other than the display it is very comfortable to use and everything works properly.
This is using the orignial Framework display, which is exceedingly glossy and hard to take photos of. Now, Framework sells matte displays which do not appear like mirrors.
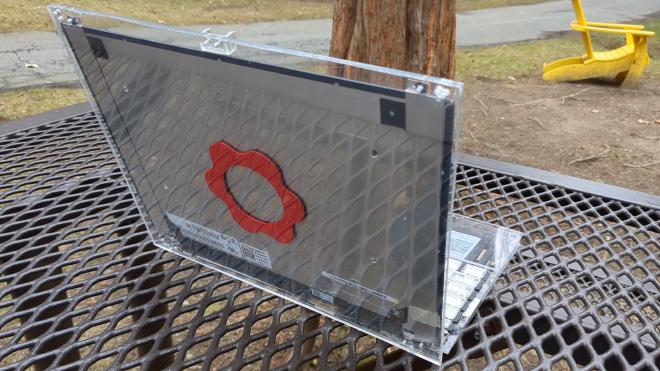
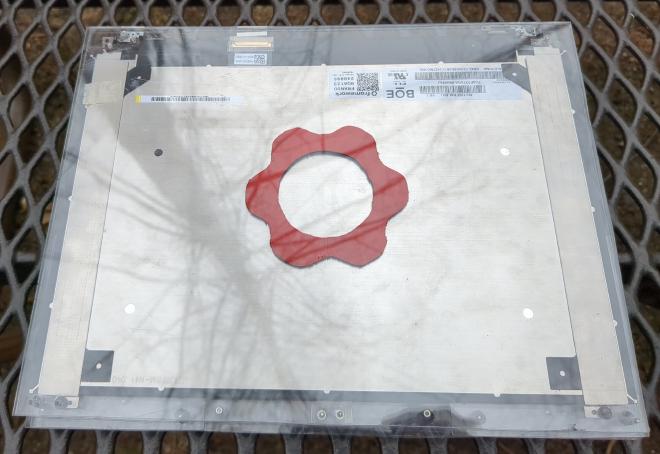
I cut out a piece of plasic and spray painted it red, solely because that was the only color I had on hand. The top lid of the case uses 2 layers of acrylic so that is rigid enough to prevent the display from bending. This means that there is a space in between the layers for me to put decorations like the logo.

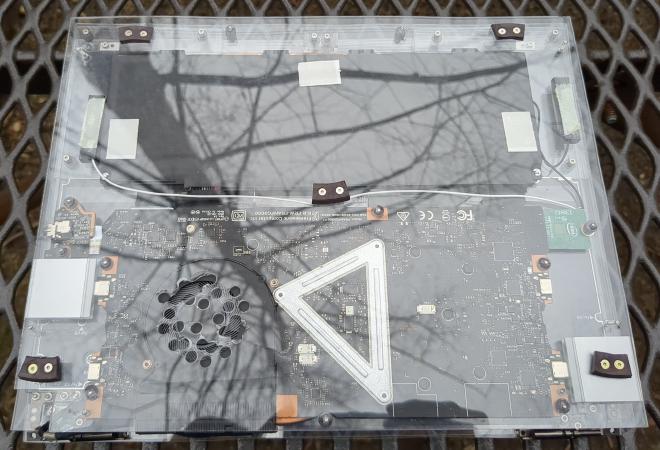

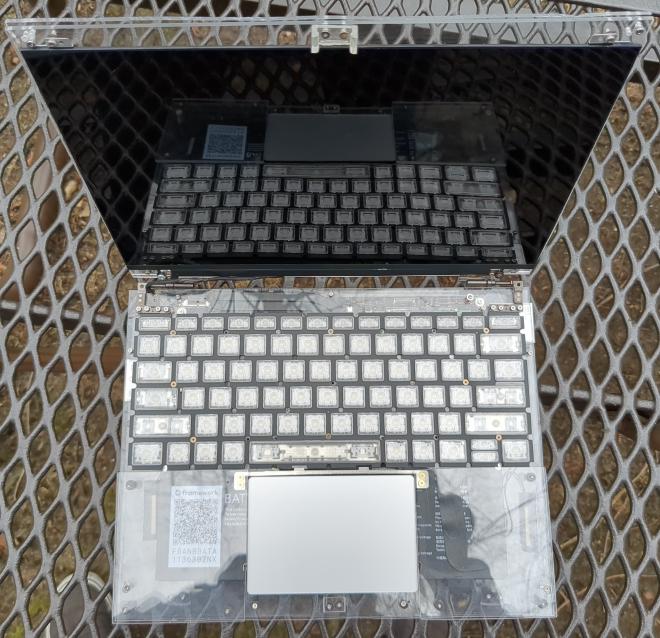
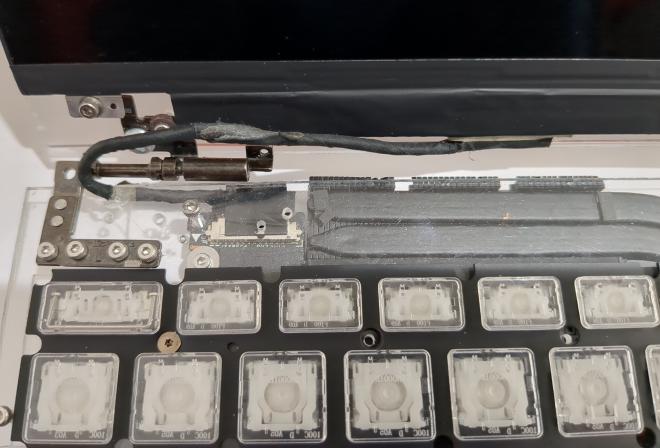
Lighting means everything when taking photos. Glare makes it difficult to see the internal components, so I took it inside to snap the internals.

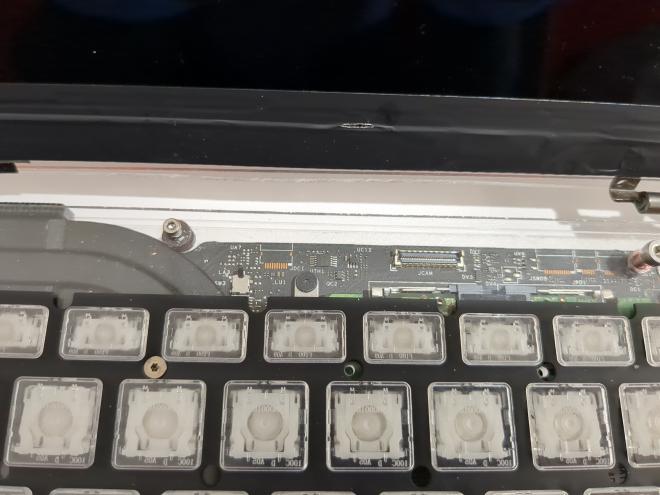
Once inside, the camera can see through the acrylic.
I did a very rushed and poor job of painting the logo, but the rest of the laptop is so strange that I doubt observers will be paying attention to the paint job.

I did a very rushed job of drilling the ventilation holes. On a prototype of this bottom sheet, I took my time and it came out beautifully. I had to scrap that sheet for other reasons. This is a lesson to have patience.
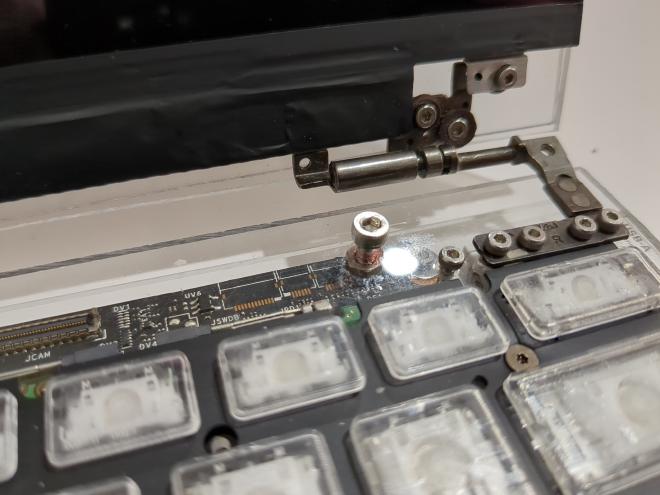
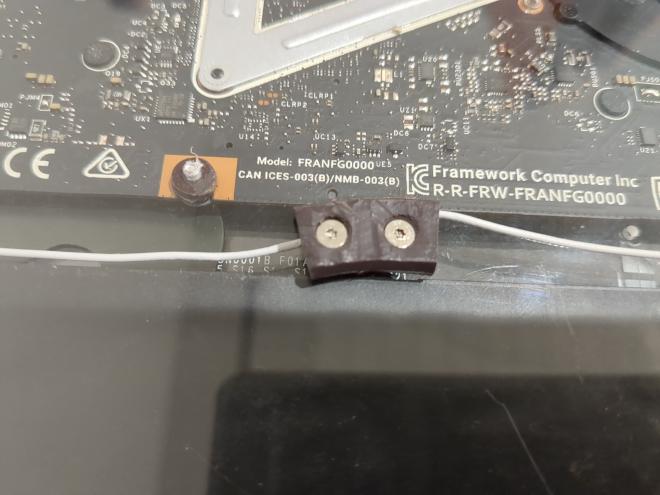
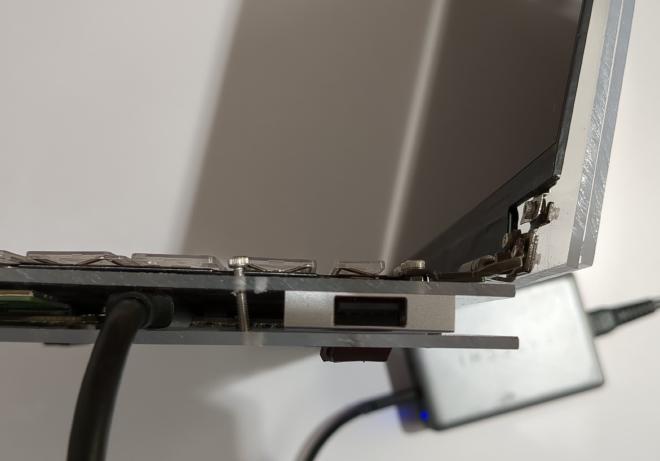
The power button is a bolt which passes through a hole slightly larger than it so its threads do not engage. It is held captive by a nut on the other side of the acrylic. This bolt is resting on top of a power button which is directly part of the motherboard. Therefore, when I push down on the bolt it presses the board’s power button. This system works surprisingly well.
There are 5 rubber feet on the bottom of the laptop. These serve both to keep the laptop from sliding around and to allow airspace under the laptop for the cooler to pull from. They are all made from a rubber circle that I found, which may have been an O-ring (though I have no idea for sure). I cut them so they are flat and so they had depressions where I could pass a screw through and attach them to the case.
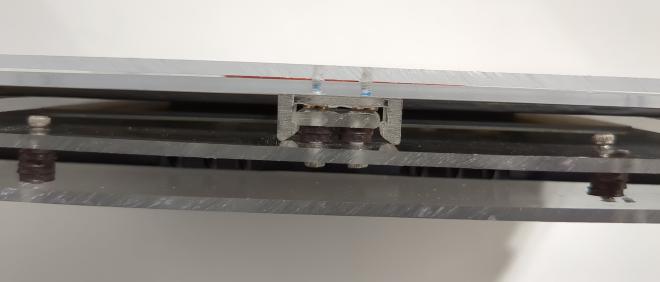
The clip holds the laptop shut when desired, and it works very securely. The female part of the clip was taken from something (I don’t remember what) and was orignally part of an actual clip. The male part is just some acrylic which is held away from the main body of the case by some bolts.
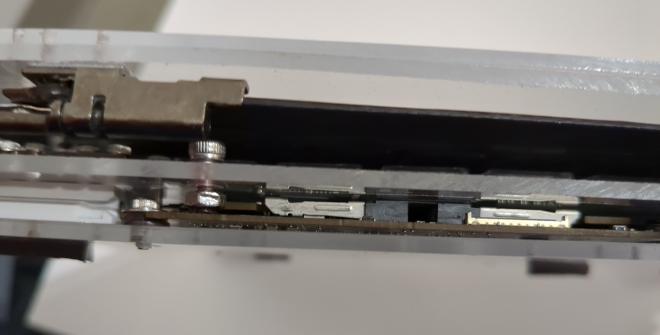
There are rubber spacers threaded onto the bolts here, but they don’t actually matter because the bolts themselves engage with the acrylic and hold it in place. I put the bolts through by drilling holes which are the diameter of the bolt’s shaft, not including the threads. Therefore, I could drill bolts into these holes and have the threads catch. This is the process I pretty much used for the entire laptop.
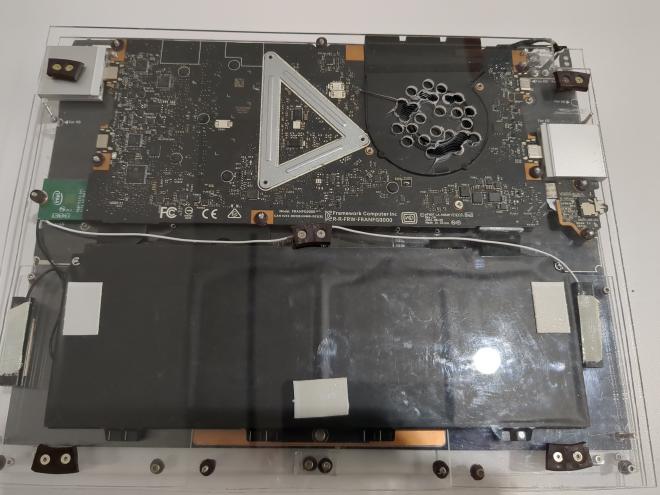
For holding in the motherboard, the WiFi card, and the audio jack submodule, though, the rubber spacers do matter. I used the head of the screw and a washer on one side of the board and the rubber spacer on the other side of the board to keep these boards in place.
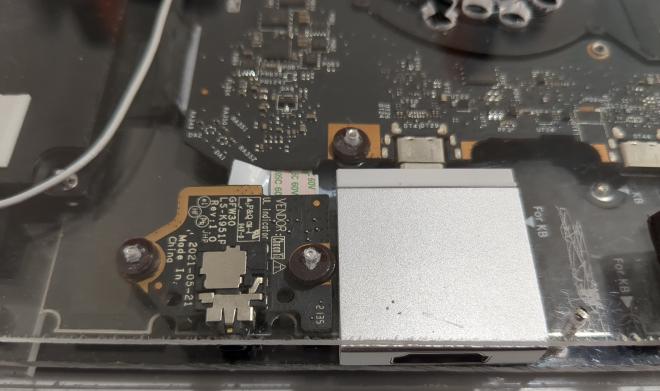
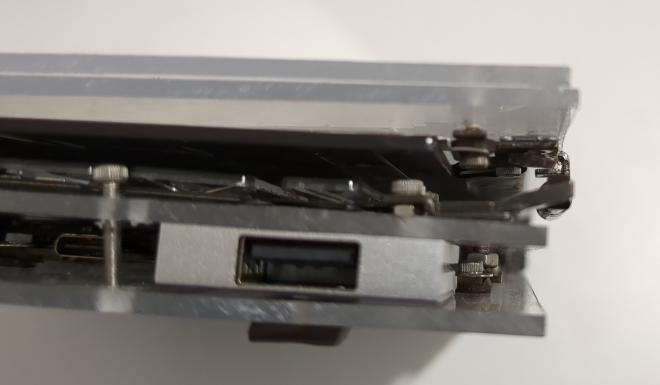
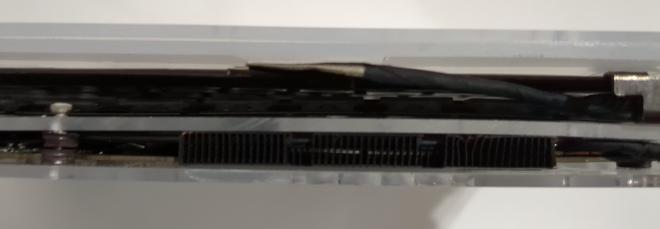
In the image above, there is a silver square box. This is an HDMI module, which plugs into a USB-C connector on the motherboard. There are 4 of these USB-C connectors on the board and my case allows for all of them to be plugged in at the same time. This is simply how the Framework laptop is designed to be used. I have a USB-A module installed on the other side. Unfortunately, I did not build a removal mechanism into the case and modules can only be removed with pliers.
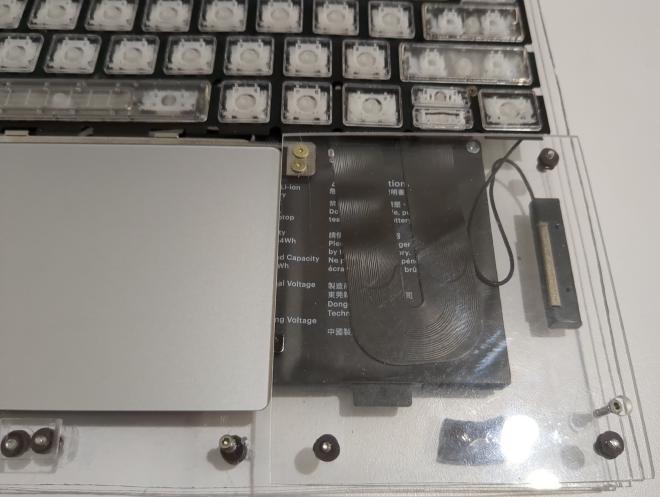
The palmrests on either side of the trackpad are elevated above the regular bottom sheet of acrylic. Otherwise, the height of the keyboard itself would mean that my hands sit lower than the tops of the keys, which makes it difficult to type. On desktop keyboards, the keys are higher than one’s palms, but the keyboard is angled upwards, which mitigates the issue.
The trackpad is screwed directly into the bottom sheet of acrylic. The amount of tension that I put on it is critical to it working properly. I have not dialed it in perfectly yet so I have to click with much force for it to register. Yet, this does not inconvenience be because I rarely use the mouse (I am writing this article in VIM). At one point during testing I had the tension done perfectly, so it certainly can be done with enough tweaking.
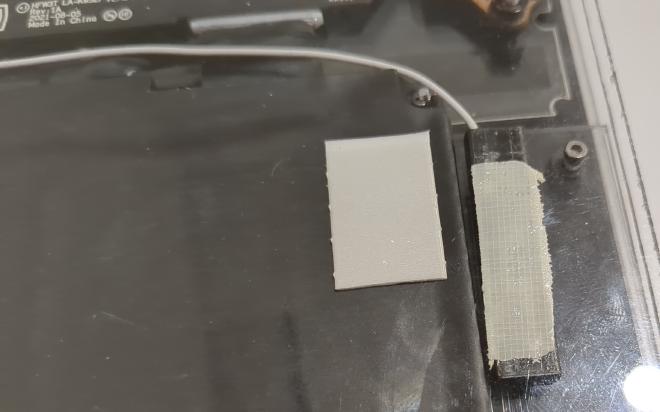
The WiFi antennae are just double-sided-taped to the bottom acrylic sheet. The battery is done this way too.
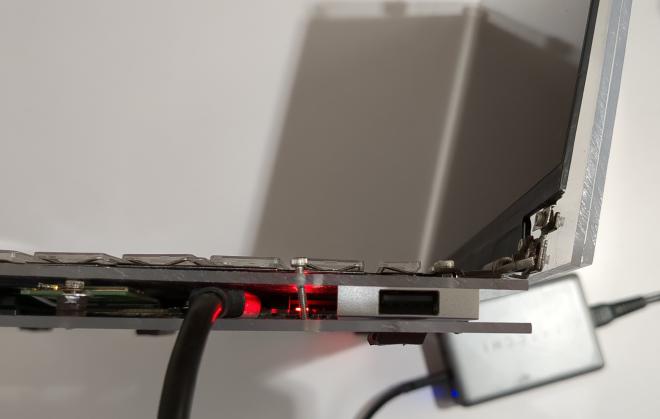
There is switch that, in the normal Framework case, would be pushed down when the case is closed. When the case is open, the power light flashes and when it is closed it is a solid color. My case does not press that switch, so when power is plugged it, it perpetually blinks red. It would be trivial to add a spacer and press the switch closed, but I have not done that as it doesn’t matter very much.
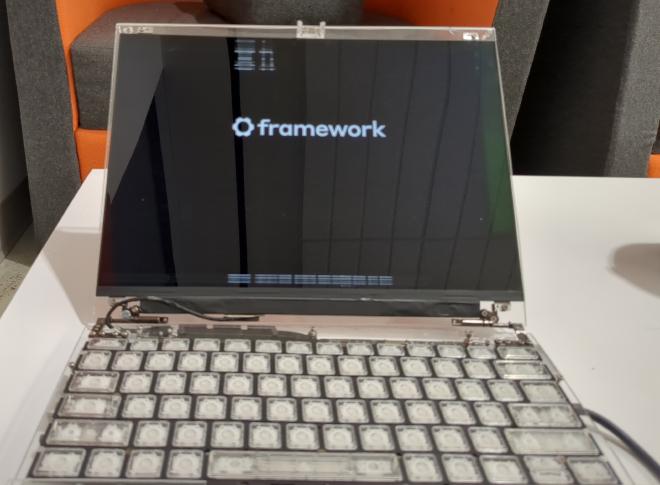
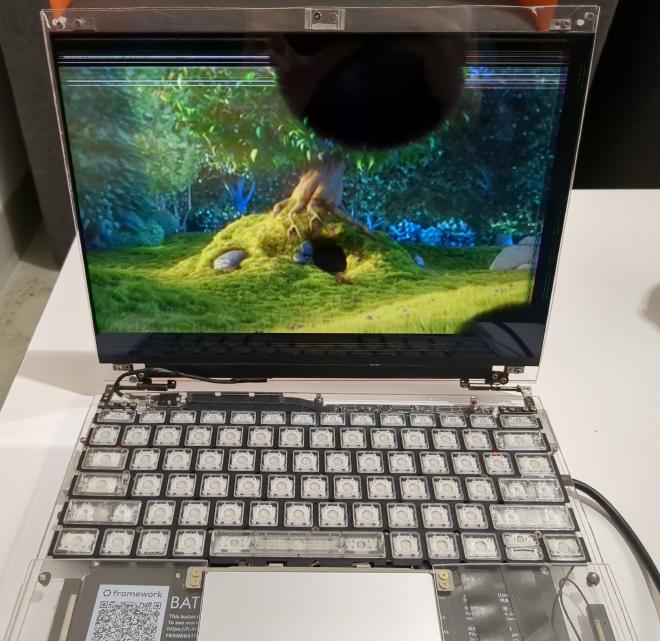
The display is cracked. There are 2 black blobs and rainbow-colored lines at the top of the display. These issues do not make the laptop unusable, but as the computer stays powered on, the rainbow lines spread and eventually cover the entire dispay so it is unusable.