Cardboard PC
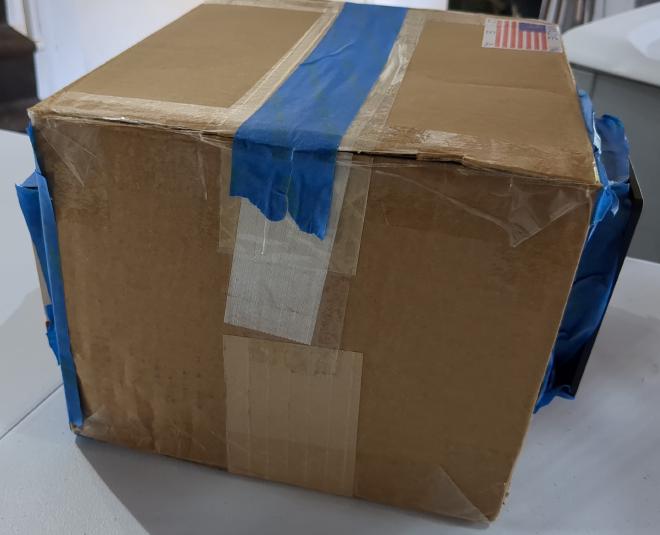
This is my cardboard PC. I had all the parts for a PC but no case to put them in, as my only case was being used for my second homelab iteration. Then, I realized that I had a cardboard box which was exactly the right size to fit an ATX motherboard. Funnily enough, this whole ATX system is smaller than a Fractal Node 304 ITX case. This certainly works, but the motherboard is not screwed in and it is overall very fragile.
The motherboard is sitting directly on cardboard with no standoffs, which is fine because cardboard is not electrically conductive. Some things like the fans I screwed in with standard wood screws, but if you build this yourself, be very mindful where you use metal because you could easily short something and destroy your computer and/or cause a fire. Also, the cardboard will simply grow weak over time so it cannot be used long term. I used this PC for about a week and it was fine, but do not go longer than that.
Also, this computer produces a loud whooshing noise, so it is not acoustically tuned. In addition, the power button is not accessible, so I set the bios to “Power on with AC restore” and power it on/off with the PSU power switch.
This is why I do not recommend building something like this. Even though it is low effort, the final product is unusable so all the time you put in, however short, is a waste. If you do not have a case, just use your computer in the open air until you get one.
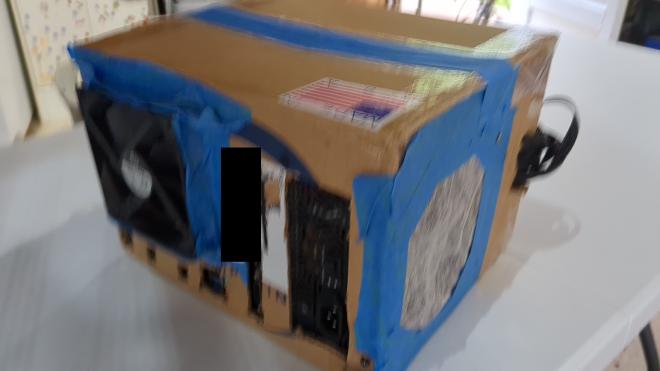
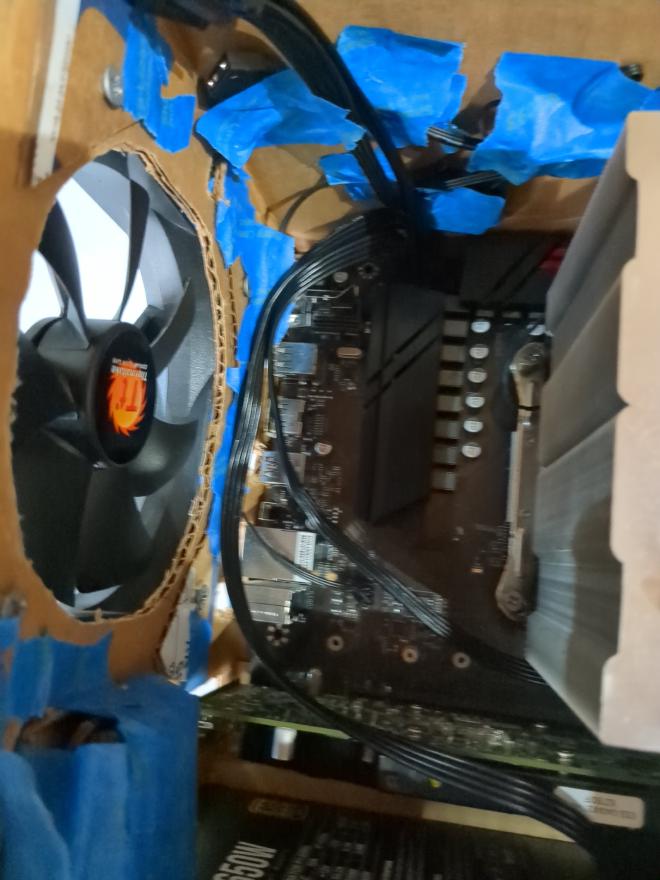
All of the intake fans are protected by a used fabric softener sheet. This has the ideal porosity to be used as a dust filter. In the picture above, the sheet is covering the PSU intake. If your fan has a grill covering it, such as with a PSU, then the filter can be placed on the exterior (intake) side of that fan. If not, then put in on the exhaust side of the fan. Otherwise, the fan will suck the sheet into itself and get stuck or at least produce a whirring noise.
I used a non-modular PSU so I had to loop slack cable out of a hole on the corner of the case.
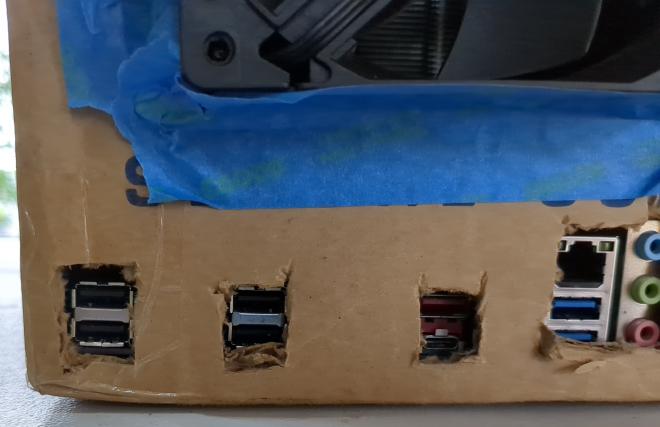
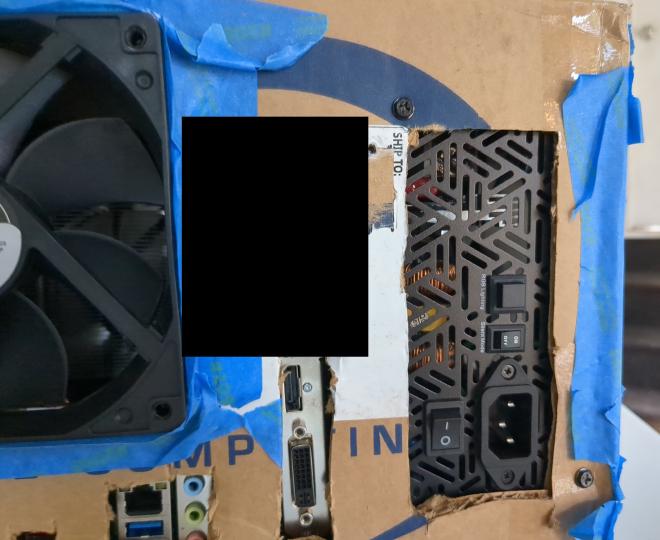
Unfortunately, I forgot to redact some sensitive shipping information so I did it digitally.
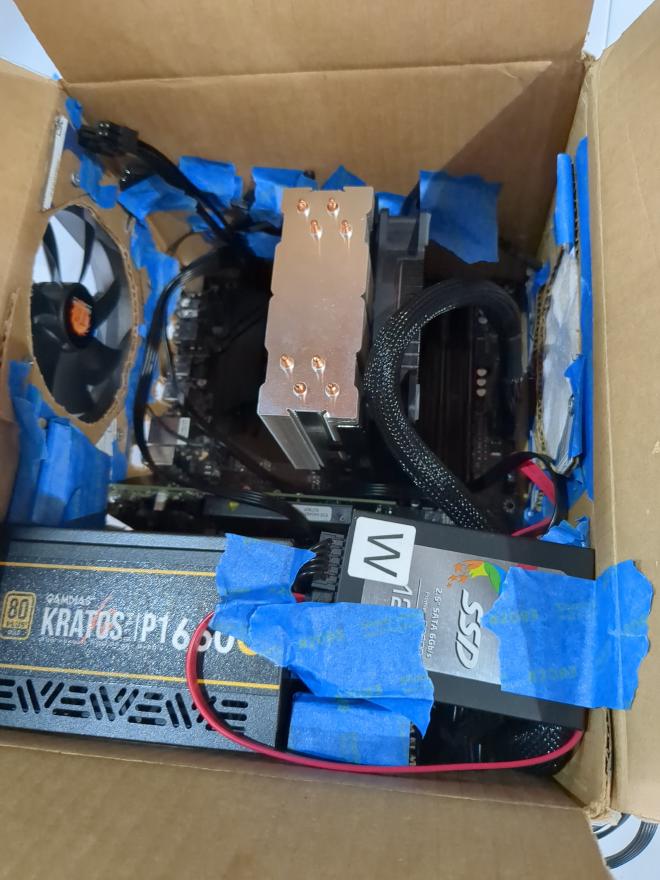
Much of the internals are held in place with tape. The PSU is resting via gravity on top of 3 plastic PCIe x16 slots, so it is not shorting anything on the motherboard. It is hard to see but there is stacked cardboard wrapped in tape holding the PSU in place on 2 of its corners. These stacks are screwed into the main case via wood screws. The PSU would not move even if I vigorously shook the case.
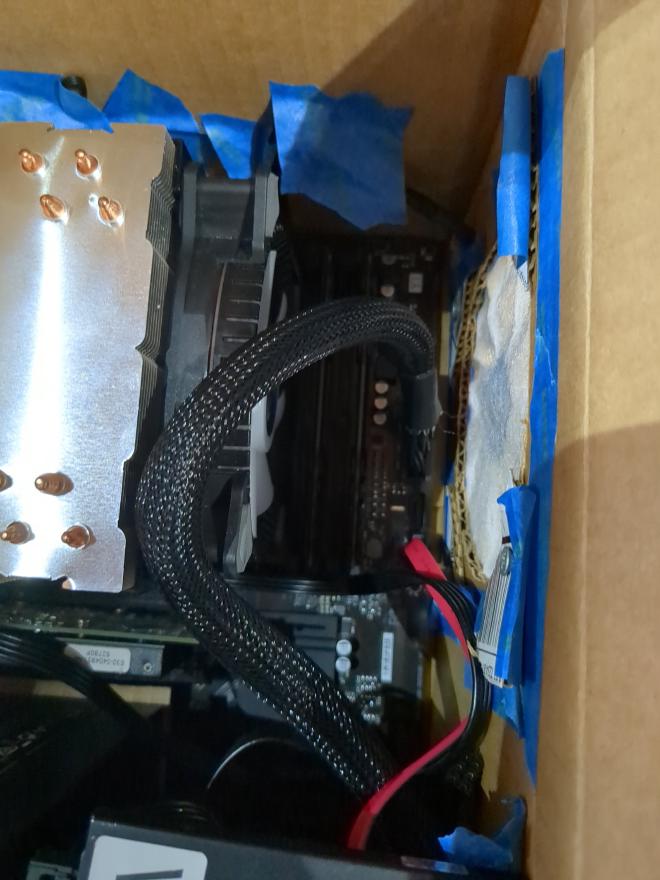
The air intake has a dryer sheet on the interior side of the fan, so as to not suck the sheet into the fan. This feeds fresh air directly over the RAM and into the CPU tower, so this case actually has great CPU thermals.
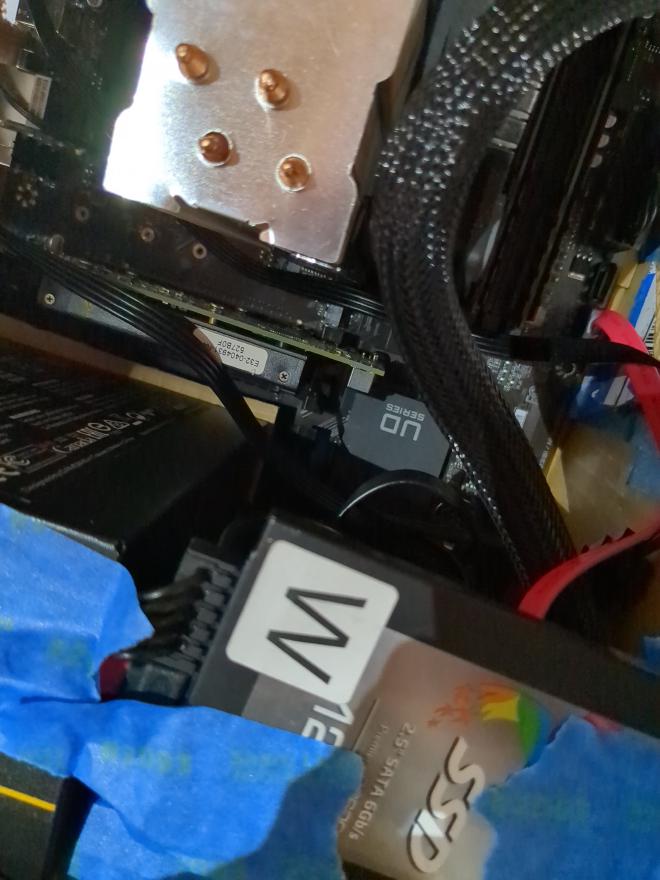
The CPU is a modern 65 Watt Ryzen 5 5600X, but the GPU is some sort of ancient low-power AMD FirePro card. This is fine because I didn’t need to do any GPU-intensive tasks on this. The side of the case with the GPU, chipset, and SSD barely gets any airflow but that is fine because they are all low-heat parts.
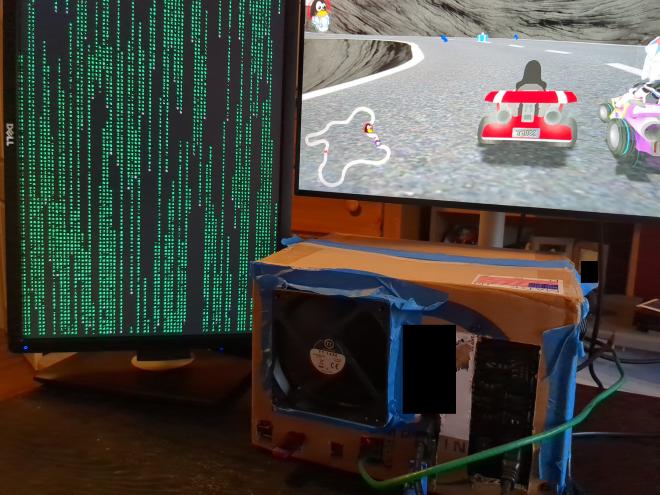
I test the system by running Super Tux Kart on one monitor and CMatrix on another monitor. It holds up very well.